Modifiers Groups and Modifiers Management
Modifiers are the items assigned to a group that provides the ability to change and add additional customizable options for an order. Modifiers can be assigned to the entire Category or can be made more customizable by assigning to the item directly. Creating Modifiers will also help in providing consistency with regard to the overall layout and cost adjustment for upcharges or substitutions to an order.
General Modifier Groups and Associated Items
Here are some modifier groups and associated items.
| Meat Temperatures | Blue, Rare, Medium Rare, Medium, Medium Well, Well Done, Black. |
| Alcohol Prep | Bruised, Rocks, Neat, Dirty, Double, Stirred |
| Salad Dressings | Blue Cheese, Ranch, Creamy Italian, Oil, Vinegar, House Italian, Balsamic Vinaigrette |
| Substitutions, Cheese Type | Mozzarella Cheese, Feta Cheese, Cheddar Cheese, Provolone Cheese, Swiss Cheese |
| Bread Type Rye | Country White, Multigrain, Sourdough, Whole Wheat |
| Egg Prep | Scrambled, Sunny Side Up, Fried, Poached, Egg Whites |
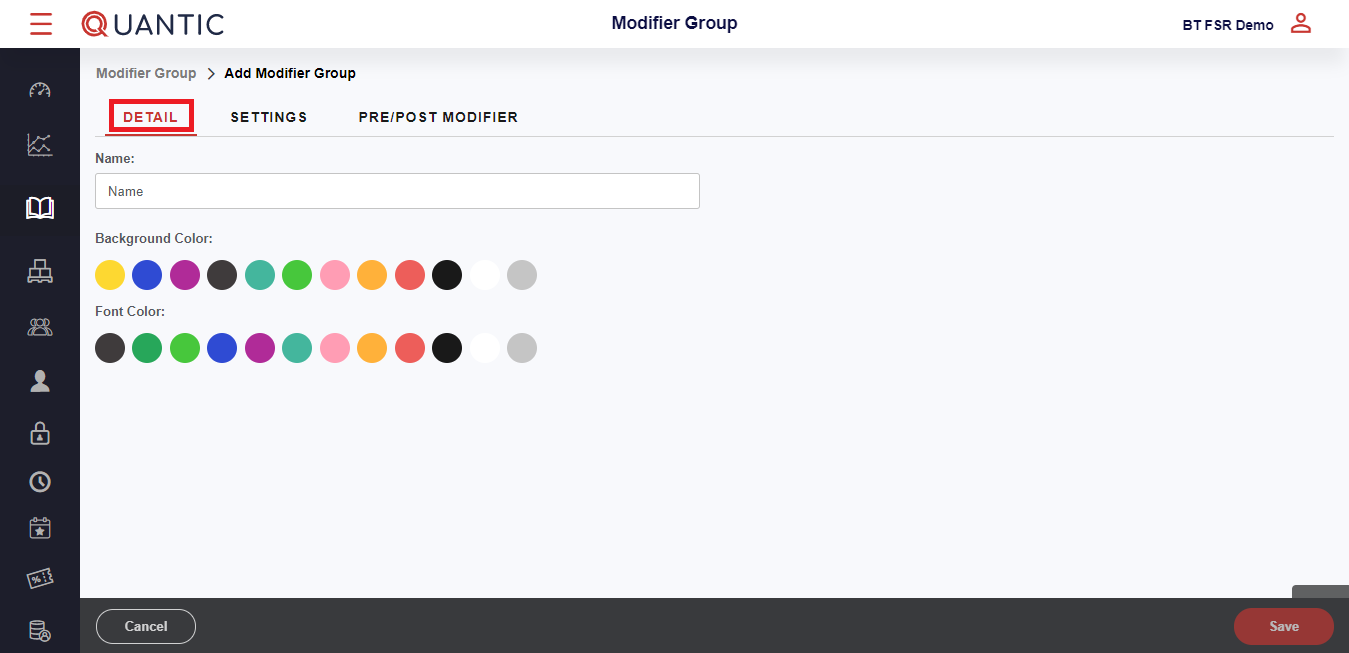
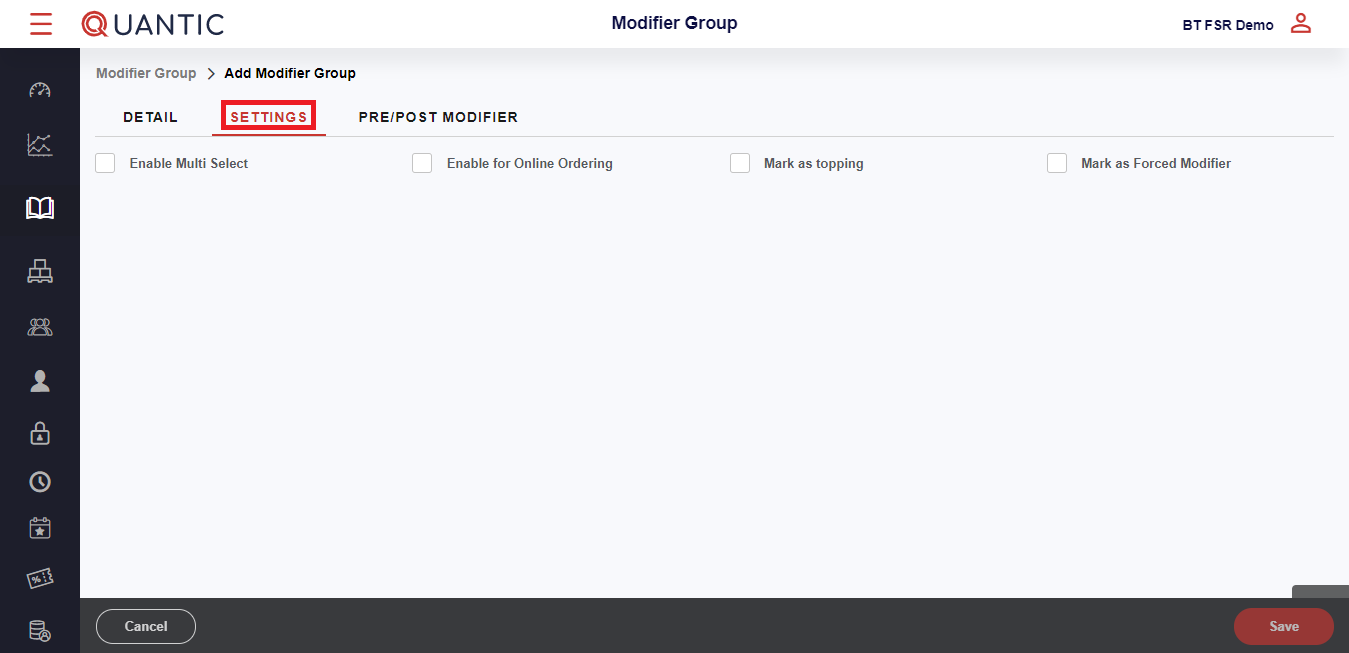
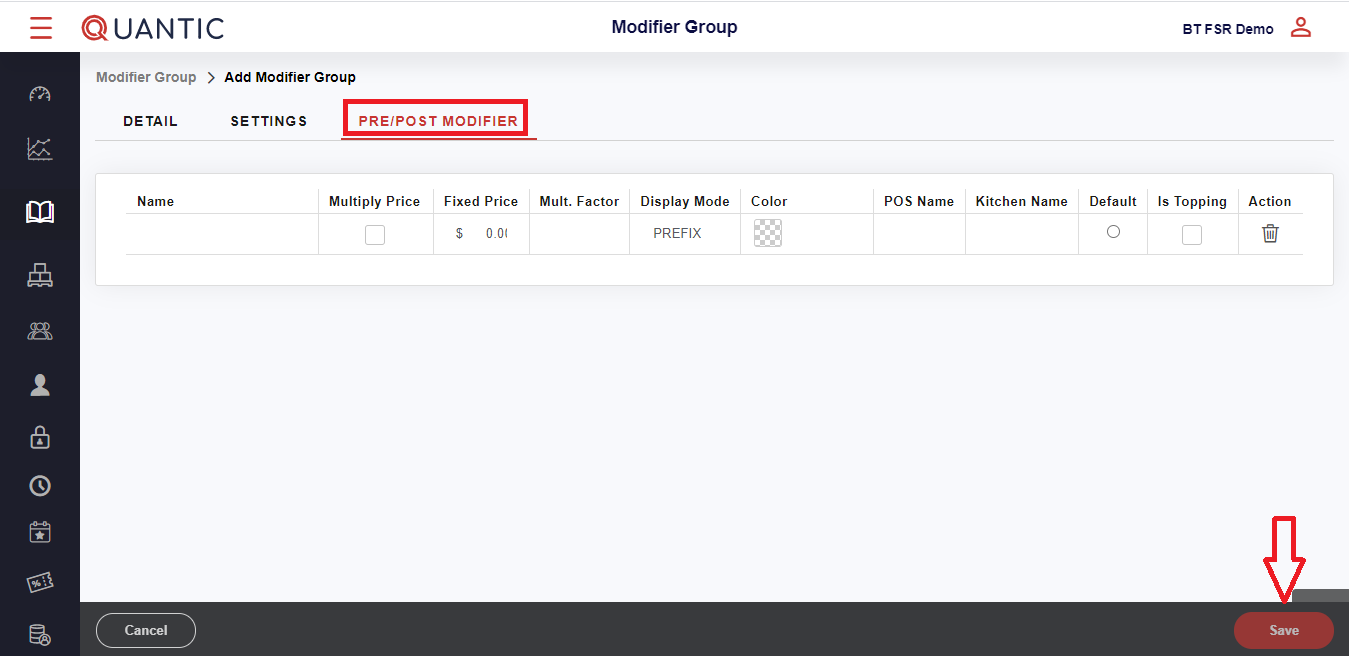
Example: Condiment option is a modifier group and mustard and ranch are the modifiers under that group. With the help of pre/post modifiers, you can now associate the modifiers with prefixes such as “No Mustard” or “Light Ranch”. In this scenario, No and Light are the prefix for the modifiers. Another option will be to add the modifier with the suffix as “Ranch On the side” or “Mustard Extra”. In this case On the side and Extra are acting as a suffix for the modifier.
How to Create a Modifier Group?
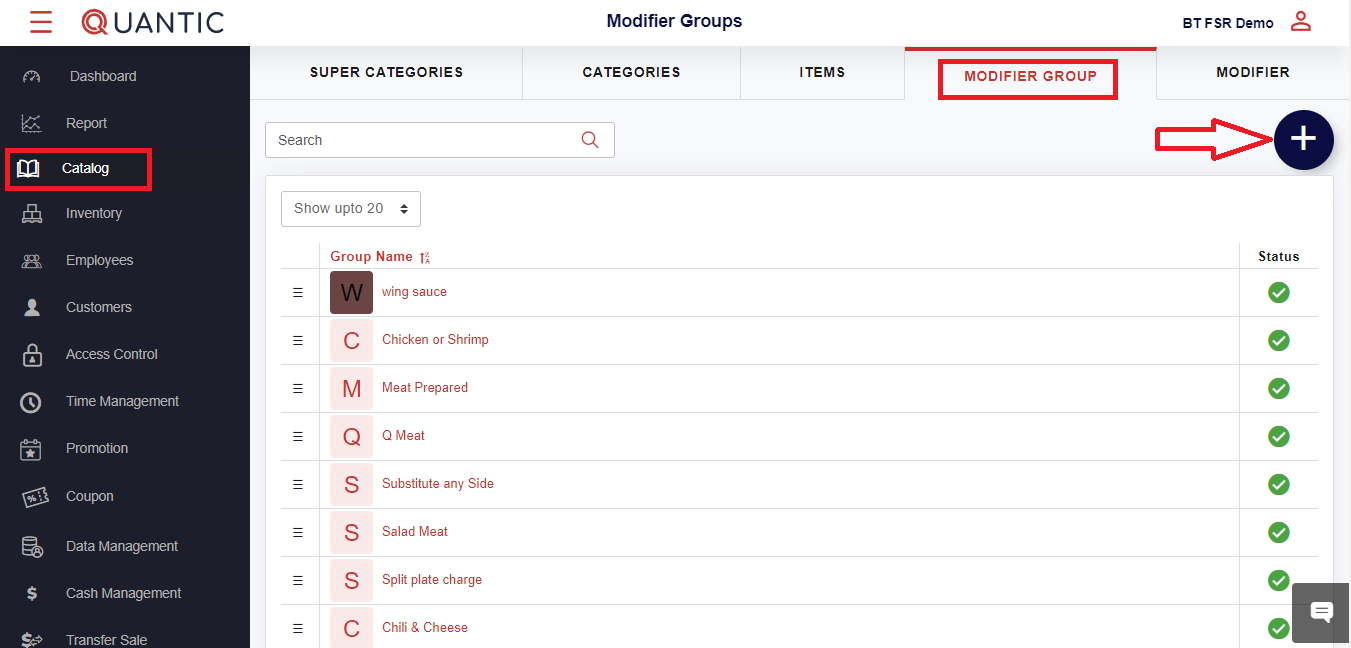
A modifier group will contain multiple related modifiers, which are leveraged to structure your menu. It is recommended to use logical modifier groups, such as what type of dressing for the salad being ordered which would be called Salad Dressing or alcohol preparation modifier group called Drink Prep etc.
Note: It may be important to minimize the Modifier groups. Also, it needs to be ensured that groups are structured and labeled correctly. This will reduce the risk of replicating similar group types.


Example: Condiment option is a modifier group and mustard and ranch are the modifiers under that group. With the help of pre/post modifiers, you can now associate the modifiers with prefixes such as “No Mustard” or “Light Ranch”. In this scenario, No and Light are the prefix for the modifiers. Another option will be to add the modifier with the suffix as “Ranch On the side” or “Mustard Extra”. In this case On the side and Extra are acting as a suffix for the modifier.
How to Create a Modifier?
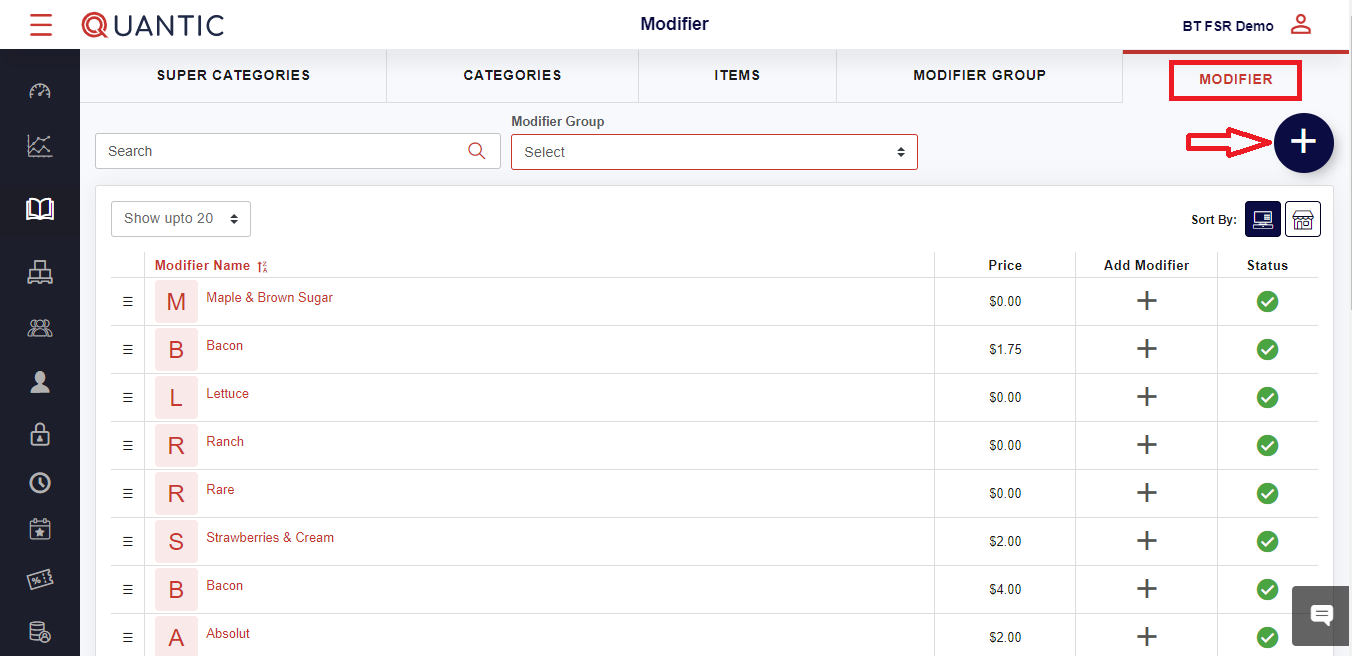
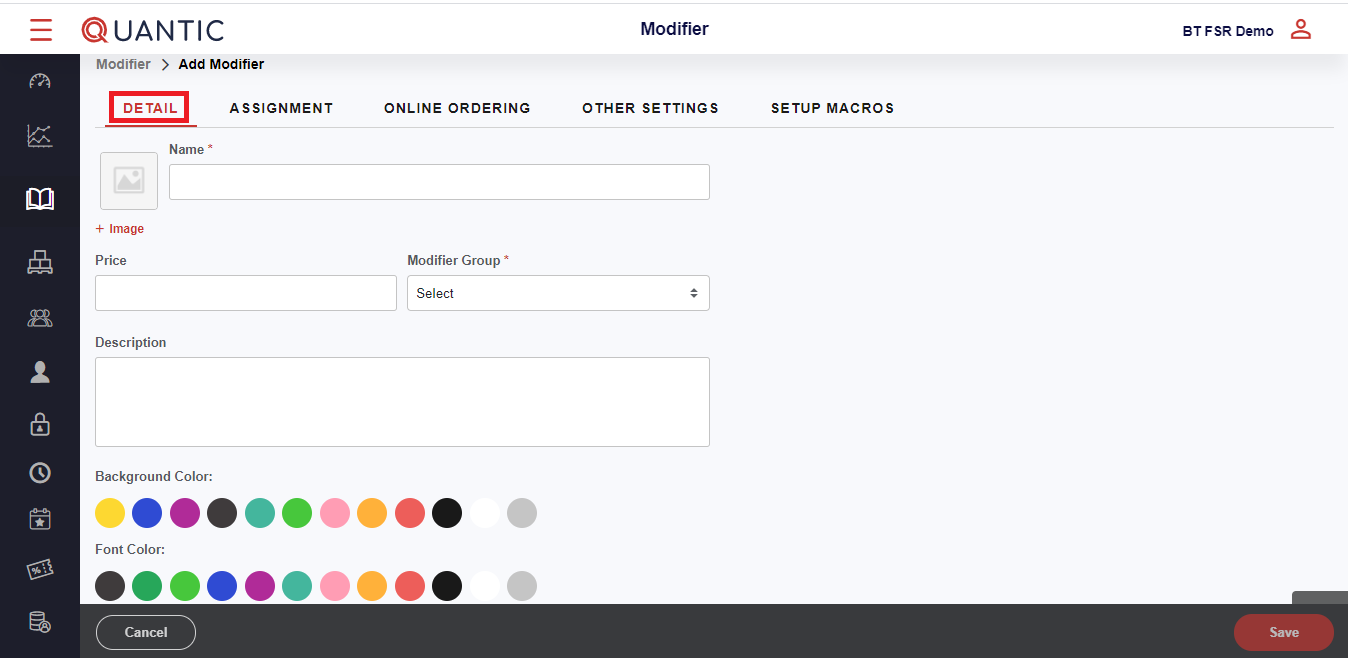
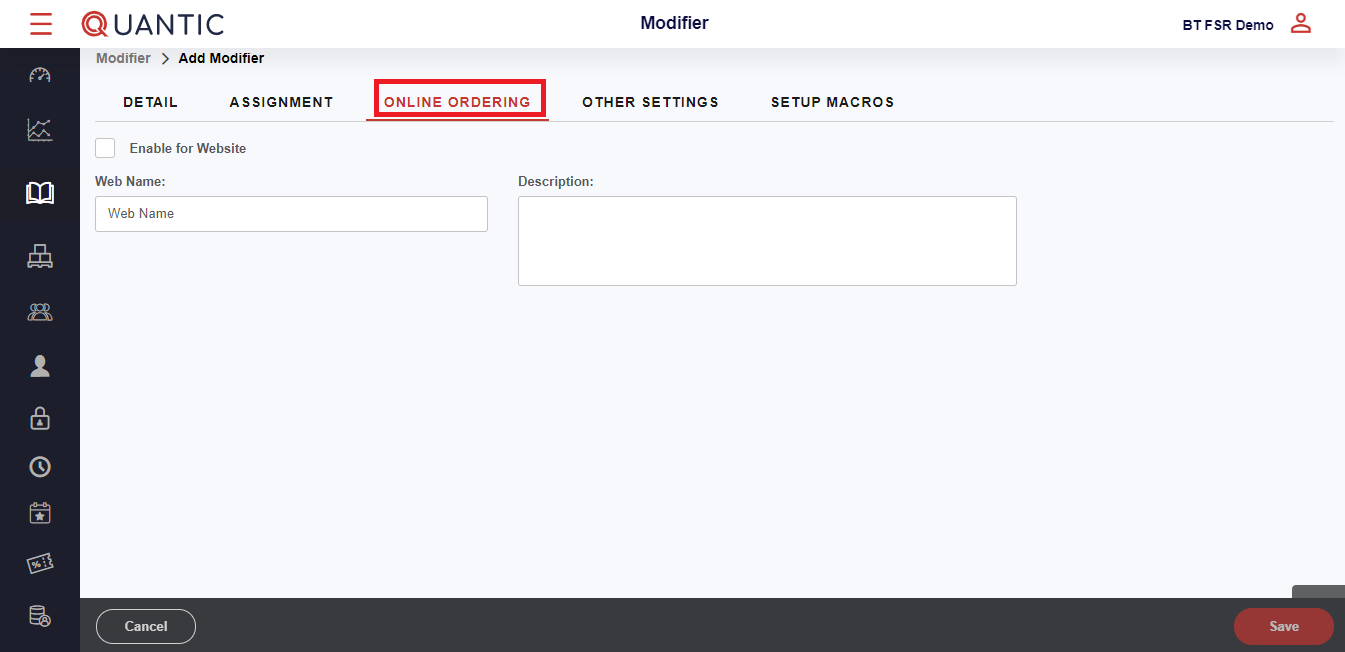
Modifiers are the add-ons that a customer can choose while making a purchase. To start creating a Modifier, you must first create a modifier group, as modifiers need to belong to a particular group.
