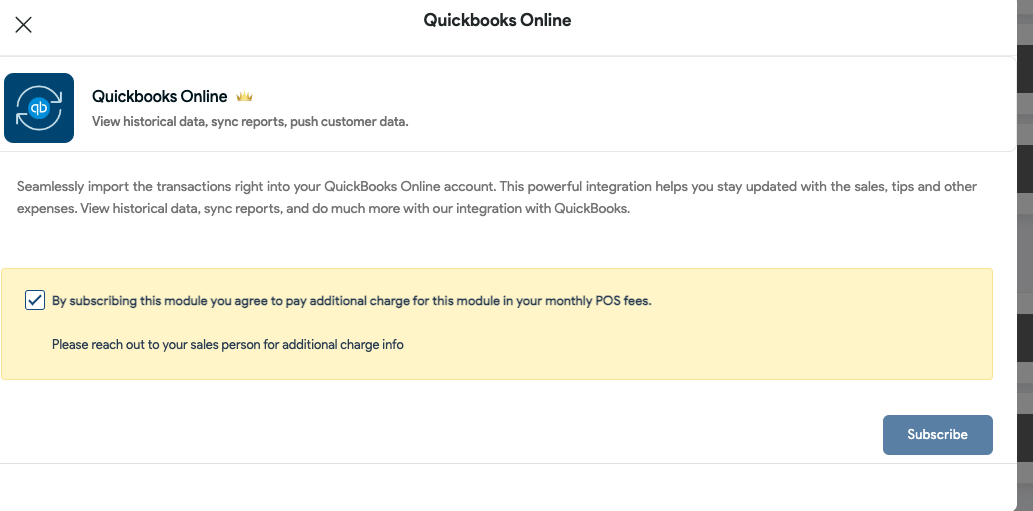
Nothing can be more tedious than entering the data manually on Quickbooks online. Moreover, the chances of error are more severe when we try to enter the data manually. But now with Quantic-Quickbooks integration, we have saved you from that hassle.
Quickbooks is a popular accounting software that integrates and syncs well with Quantic. This powerful integration allows you to push your sales data right to your Quickbooks account with the utmost accuracy. It makes sure that your accounting needs are well taken care of while you continue to work on Quantic and keep focusing on your routine business tasks. Here are the steps to set up Quickbooks and integrate it with Quantic.
Before heading straight to the setup, please make sure you have an active Quickbooks Online account and you are logged in to it. Also, please ensure to match the categories and payment methods in Quantic and Quickbooks accounts to avoid any kind of confusion. based on the item category and payment methods.
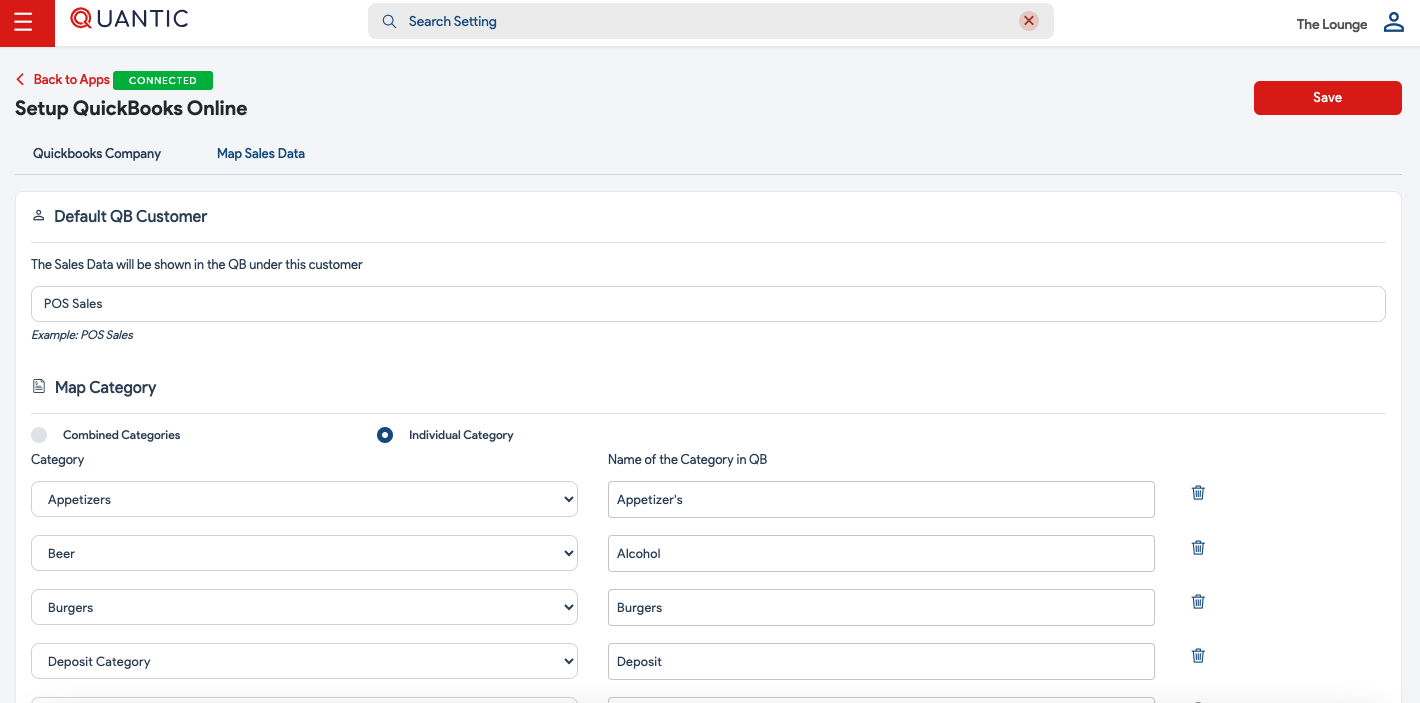
Mapping the Sales Data
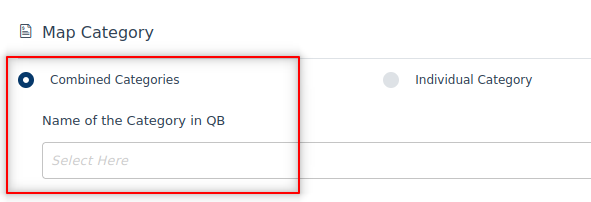
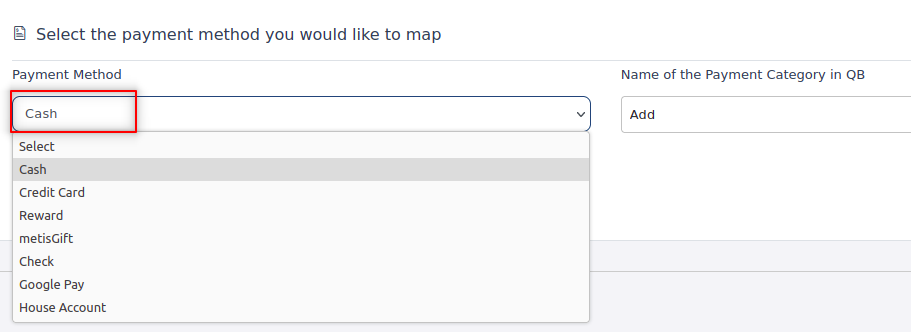
You can map the sales data by creating a default customer. All the sales figures (EOD) will be displayed in Quicbooks under this default customer name. The data can be mapped based on the item category and payment methods.


