Menu Management
Here, you can create the menu, create super-categories, categories, and add the items in their respective sections.
This process ensures seamless ordering and reporting.
How to Create or Edit the Menu or Inventory?
Note: Make sure you have backend/portal menu management privilege in order to add or make any changes to the Menu.
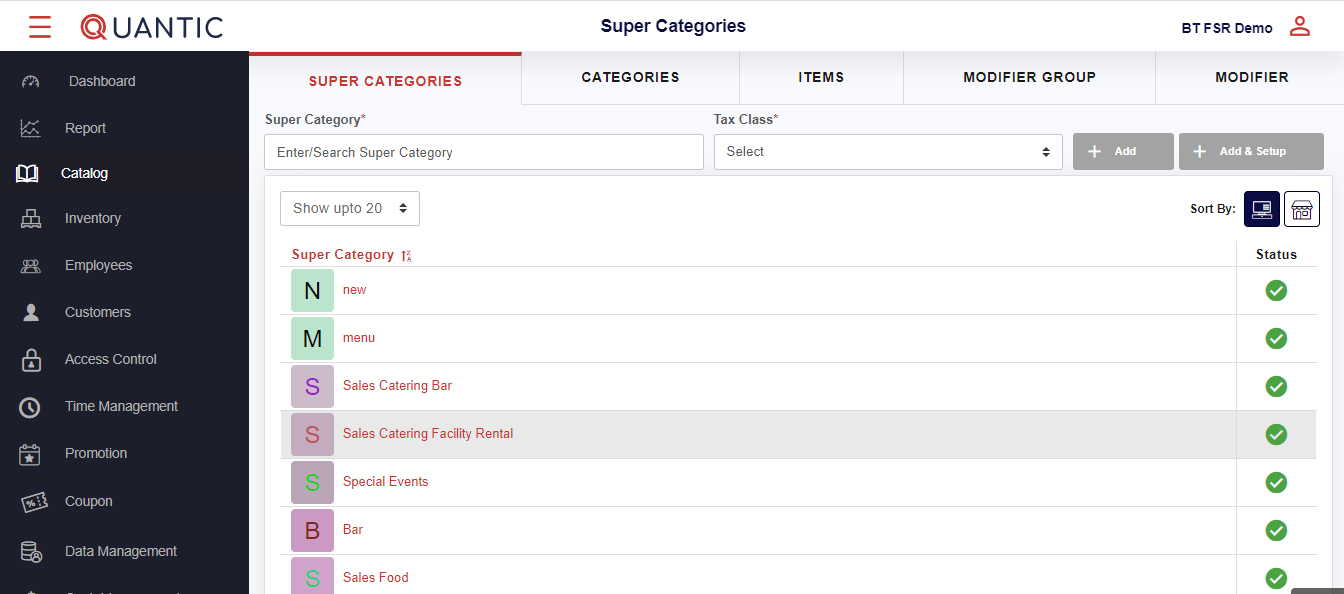
How to create a Super Category?
Super Category is the parent category that is created to track your revenue for various groups based on association.
This is used to consolidate groups into broader categories, such as Food or Alcohol, for high sales reporting purposes.
Please note: Super Category is primarily used for high-level reporting and will not reflect in the physical menu on POS.

How to Create a Category?
Categories and subcategories should reflect how your actual menu is organized, or should be displayed or divided for easy navigation.
Categories will inherit all settings for the Super Category, and Subcategories will automatically inherit the Category settings, unless otherwise specified.
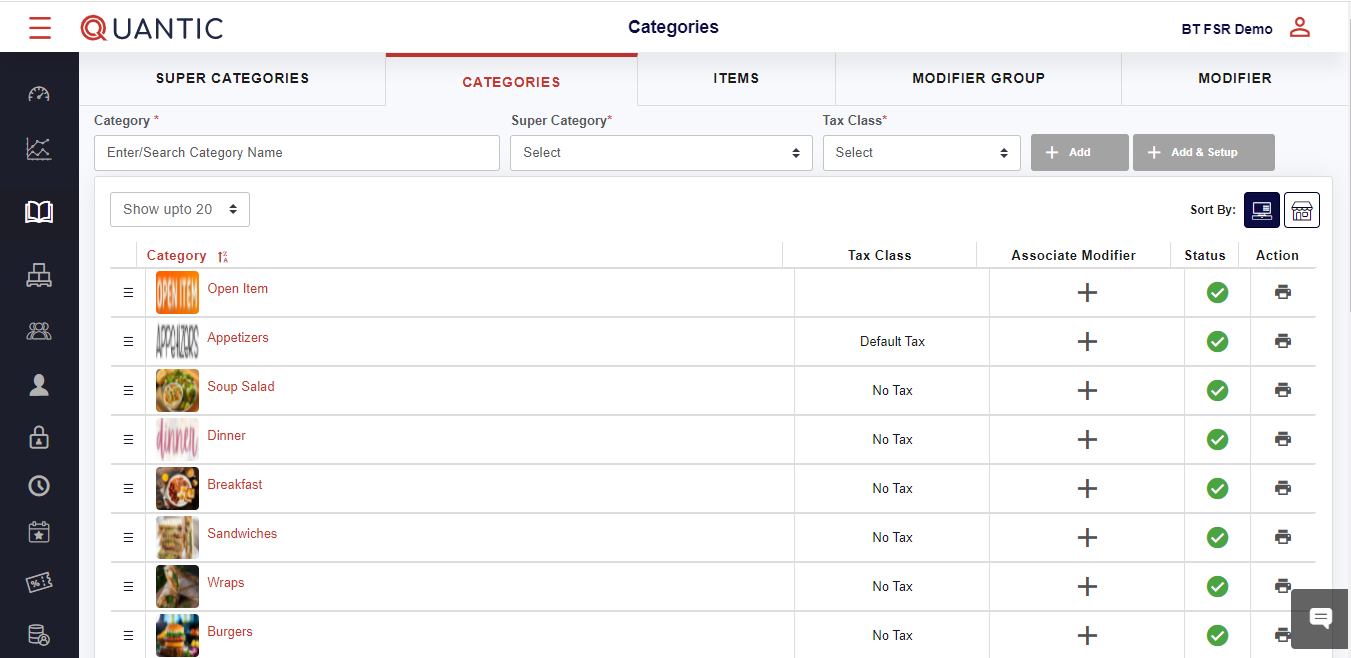
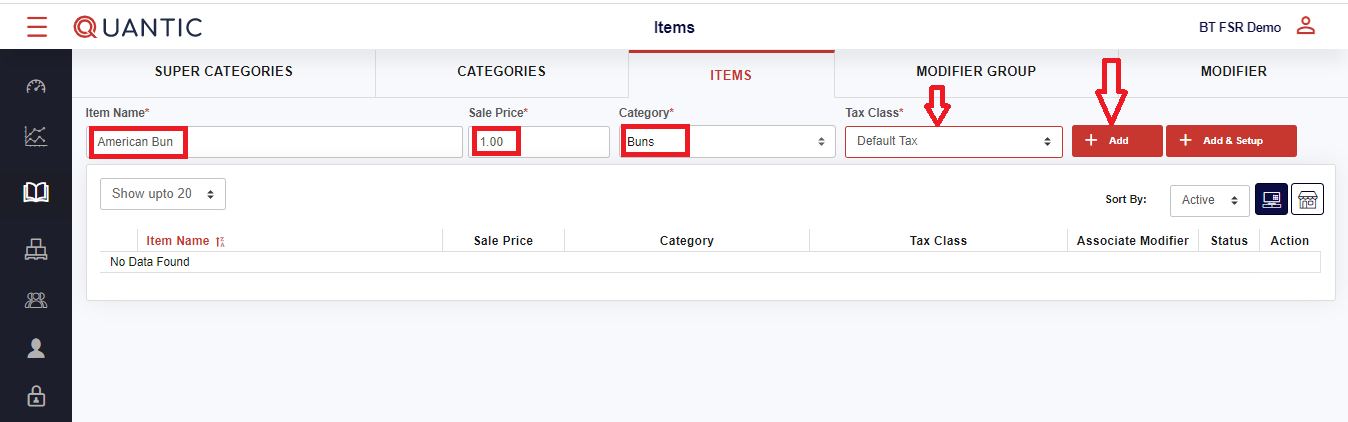
To create the Category, click the Category tab on the left of the Menu Management screen.
Enter the name of Category, Super Category, select the Tax Class and click the ![]() Add icon. In this example we have created the Bun category.
Add icon. In this example we have created the Bun category.

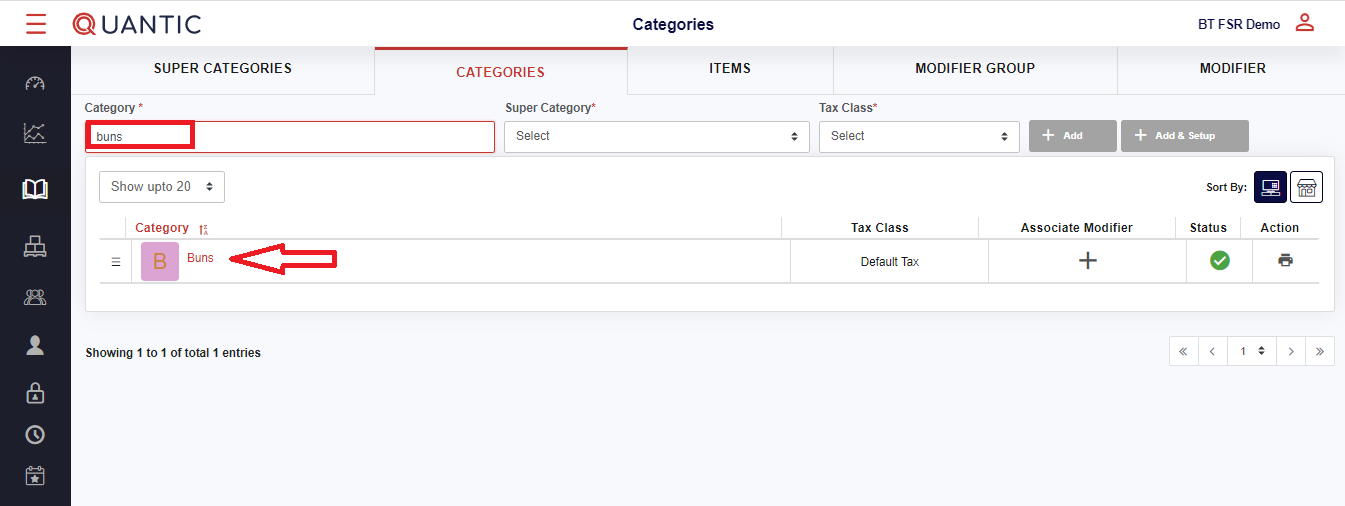
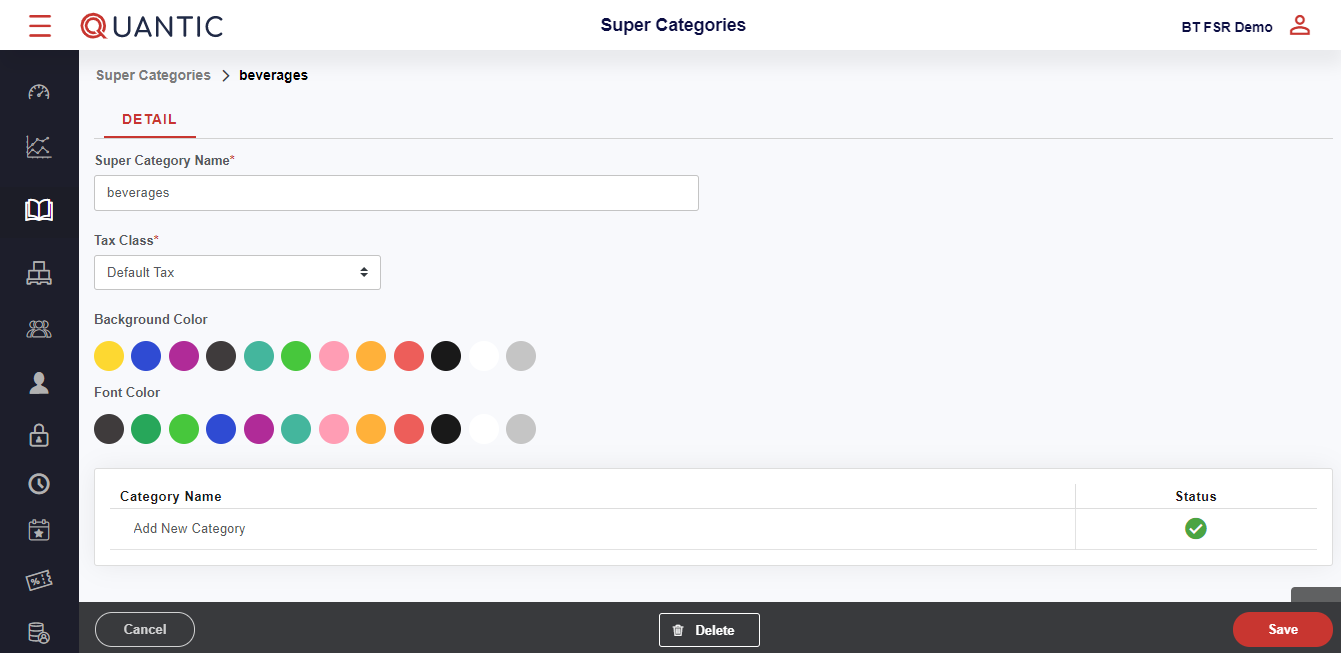
Search the newly created category as shown in the screenshot. Tap the category in the below list.
Now fill in all the details and click Save at the bottom right corner.

How to Create a Subcategory?
Creating subcategories will break things further for easier navigation for large categories.
Note: It may be important to minimize subcategories to reduce the number of taps needed to get to an actual item.

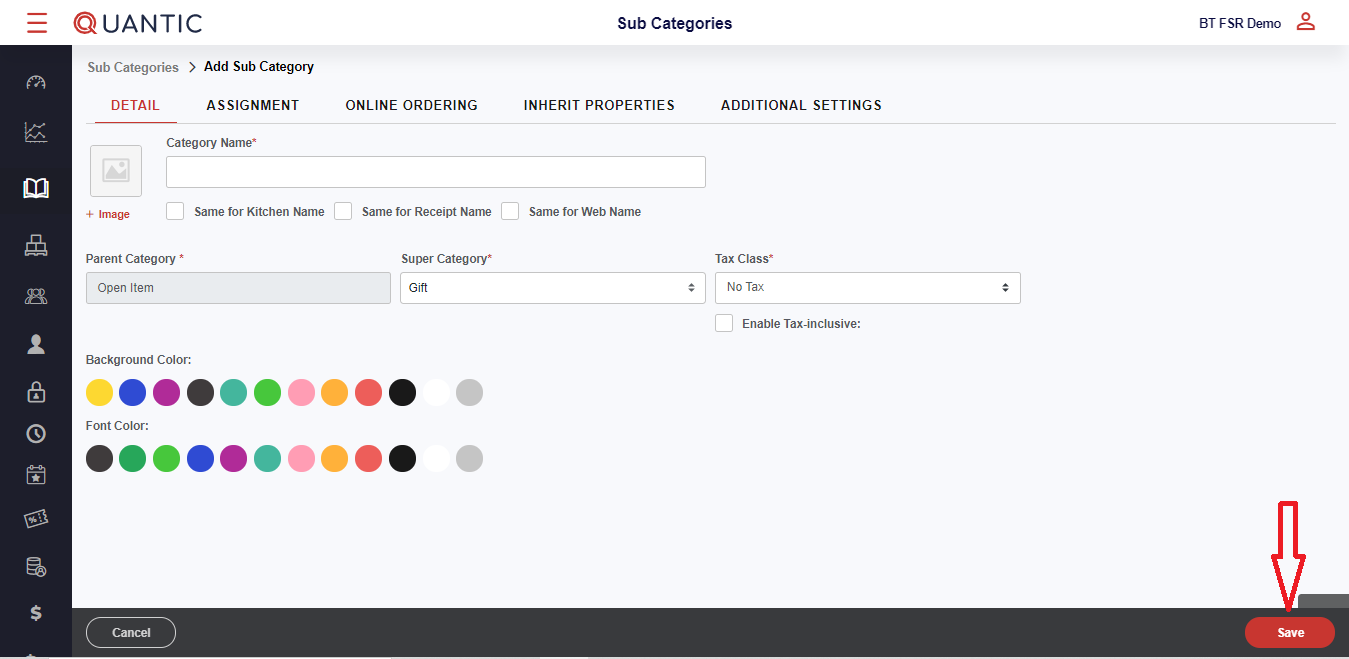
Open the left navigationTo create a subcategory click on the ![]() Add Sub-category icon underneath the associated Category as displayed in the screenshot.
Add Sub-category icon underneath the associated Category as displayed in the screenshot.
After all applicable details have been created, click on the Save button to add a sub-category.
How to Add an Item to the Menu?
Adding an item to the menu is the same as creating a category.
Here, you can now enable pricing, if applicable, and create more specific settings, such as adding custom colors, modifiers, images, or changing printers.
Note: Later, if you make changes to categories or modifier groups, items may or may not inherit those changes.
This ultimately depends on the type of changes being made or whether the inherited settings are checked or unchecked.


You may assign specific or multiple printers for this item or keep the inheritance from the associated category/subcategory.
