Caller ID
Restaurants can leverage the caller ID feature in Quantic POS to take orders over the phone and have the customer’s name auto-populate while taking on-call orders.
It helps the servers speed up the ordering process as they do not have to waste their time manually entering the customer’s details.
Moreover, for returning customers, the Quantic POS also allows you to show the name that is saved in the database for that customer, regardless of what is displayed in the caller ID name.
The caller ID feature works for the delivery and takeout service area.
How to Setup the Caller ID?
Make sure you have set up the caller ID box with the Quantic POS and turned on the configuration “Enable Caller ID Integration”. Follow the steps below.

- Log in to the backend portal.
- Go to the Configuration section on the left navigation.
- Search for Enable Caller ID Integration and turn it on.

- Once the setup completes, you will see
 on the top right corner of the POS (in the Service Area screen), allowing the user to see the incoming and running calls for orders.
Order Workflow for Takeout Orders
Once the setup completes, you can start taking the on-call orders.
The customer’s name will show up on the POS device whenever he calls to place an order.

- For example, John Doe calls the restaurant to place an order.
- The customer’s name and phone number will flash on the screen.
- Tap
 to pick up the call.
 to pick up the call.
- To start the order, select the Takeout service area.
- Click
 the icon.

- The customer details, such as phone number and customer name, will auto-populate on the takeout screen.
- The server can select the takeout order date and time on the takeout screen as shown in the screenshot above.
- Click the Start Order button.

- On the order screen, add the items that a customer wants to order.
- Click the Pay button.


- Select the Payment Link option.

- The customer’s phone number and email address (if saved in the database) will auto-populate on the screen.
- Click Send to send the payment link to the customer.
- The customer will tap on the link that he has received via text or email and process the payment.
- Once the payment is complete, the order will be confirmed and will be handed over to the customer on arrival at the store.
- Once the order is placed, you may disconnect the call.
Order Workflow for Delivery Orders
Delivery Order needs the delivery address as additional information, which auto-fills if an existing customer calls the store to place the order.
For a new customer, the delivery details will need to be mentioned manually on the delivery screen.

- For example, John Doe calls the restaurant to place a delivery order.
- The customer's name and phone number will flash on the screen.
- Tap to pick up the call.

- To start the order, go to the Service Area screen and select the Delivery service area.
- Click the button.

- The customer details, such as phone number and customer name, will auto-populate on the delivery screen.
- Fill in the delivery address manually, or it auto-fills if an existing customer calls the store to place the order.
- The server can select the delivery order date and time on the delivery screen.
- Click the Start Order button.

- On the order screen, add the items that a customer wants to order.
- Click the Pay button.
- Select the Payment Link option.
- The customer’s phone number and email address (if saved in the database) will auto-populate on the screen.
- Click Send to send the payment link to the customer via text or email.
- The customer will tap on the link that he has received via text or email and process the payment.
- Once the payment is complete, the order will be delivered to the customer at the registered delivery address.
- Once the order is placed, you may disconnect the call.
Overriding Caller ID Name with Customer Name
Quantic POS allows you to override the caller ID name with the name with which the customer already exists in the POS.
Follow the steps below.

- Log in to the backend portal.
- Go to the Configuration section on the left navigation.
- Search for " Override Caller ID Customer Name and turn it on. Now, if a customer calls the restaurant to place the order, their pre-saved name will flash on the caller ID instead of the caller ID name.

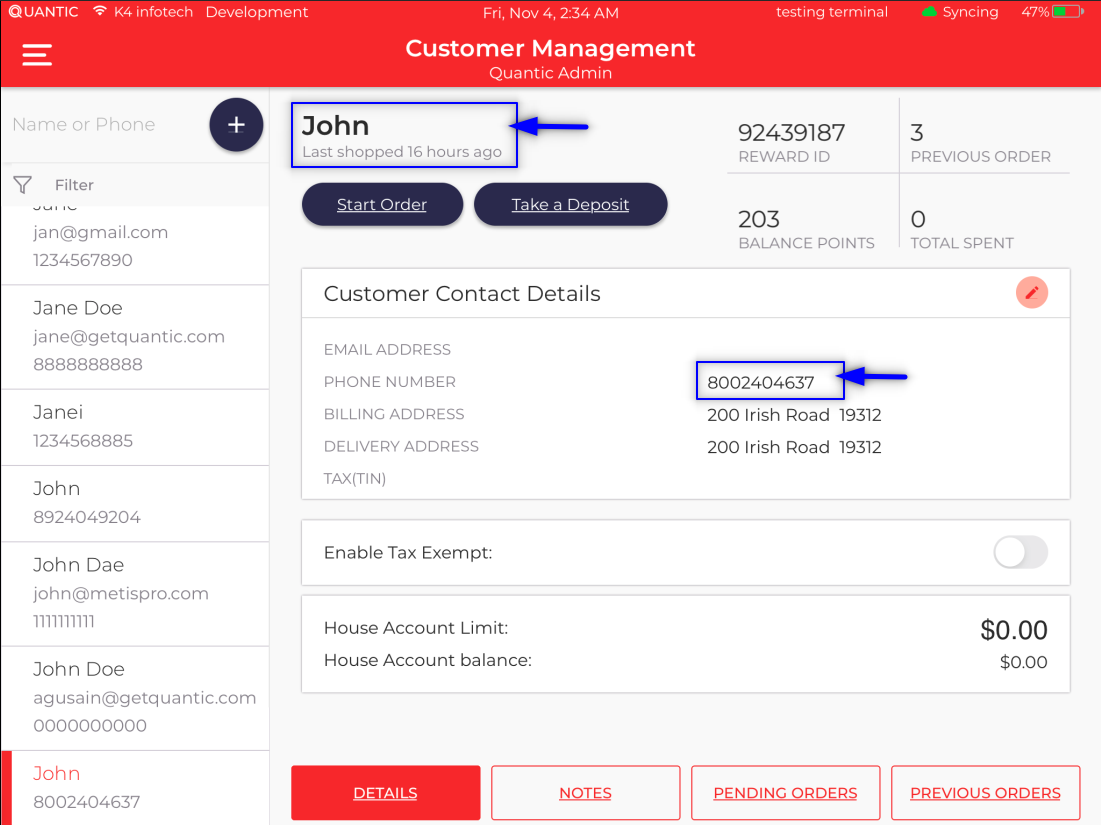

- For example, John Doe calls at the restaurant to order food, but his name is saved as John in the POS database (in Customer Management), so only John will appear on the caller ID.
