Splitting a Check Evenly
Let’s take an example of three guests arriving in your restaurant and sharing the same table.
They ordered items they wanted and wished to split the check evenly into 3 parts.
Instead of splitting the amount manually, you can use the Split Evenly feature in your Quantic POS.
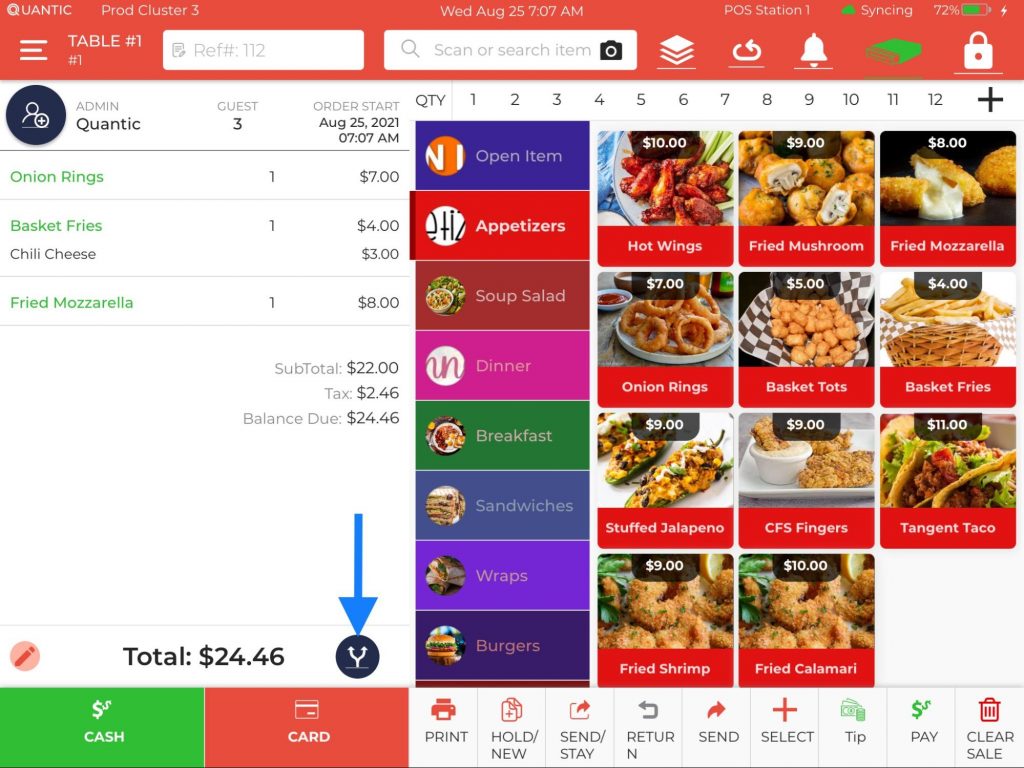
- Firstly, add the items to the check that guests have ordered.
- On the check, select the
 Split button. It is located at the bottom of
the screen.
 Split button. It is located at the bottom of
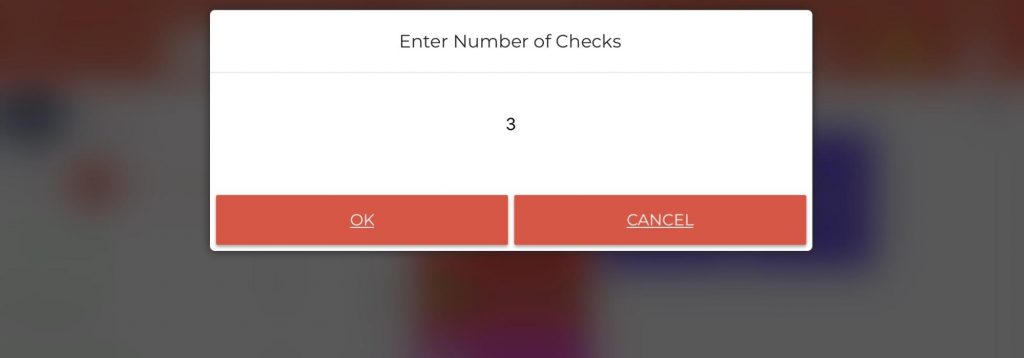
- Now you will be prompted to enter the number of checks. In this example, the guest requested to split the check into 3 parts, so we have entered 3 in
the field. You can enter any number of checks that your guests requested.
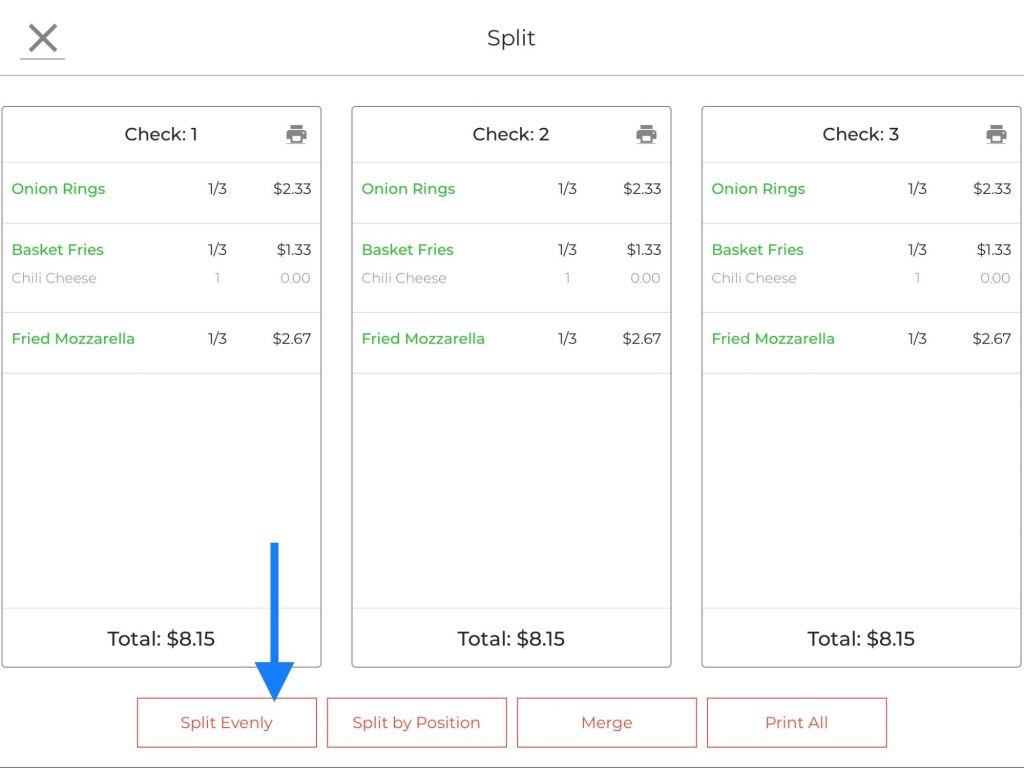
- A new screen will open that gives you an option to split the check evenly, split by position, Merge, and print all.
- Click the Split Evenly button, as we have to split the check into 3 equal parts.
- Check the screenshot to locate the position of the buttons.
Note – Split by position is typically applicable for Fine Dining restaurants.
Anytime, you can merge the checks back into one check by clicking on Merge.
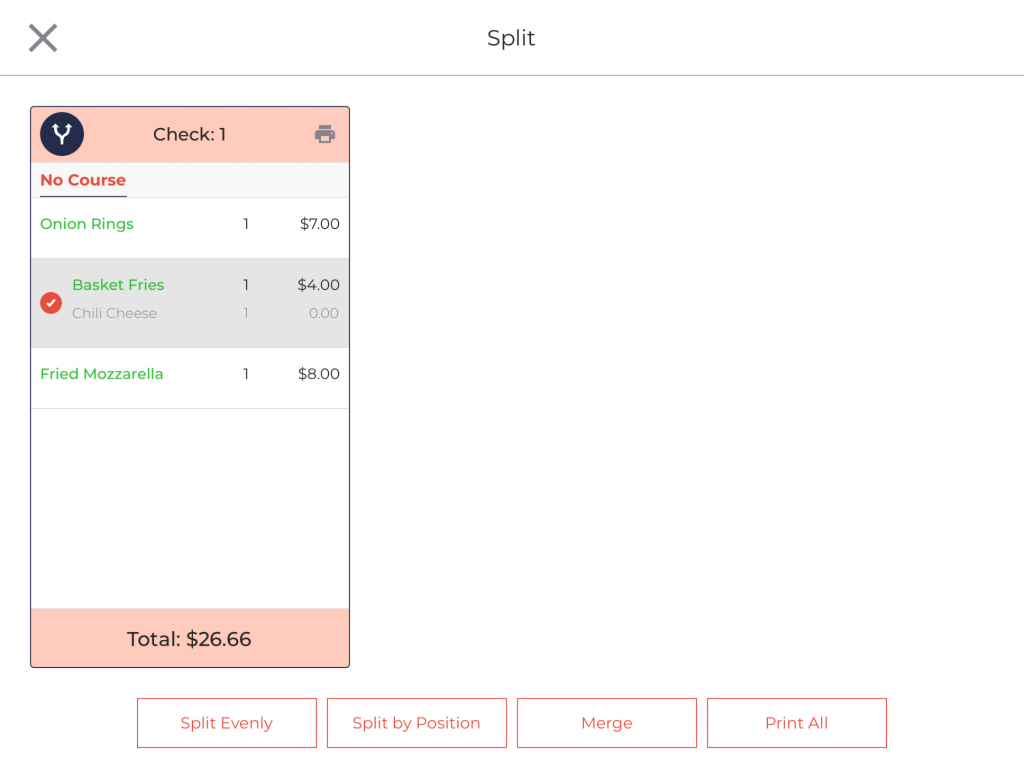
- After splitting the checks, you will see the checks divided equally into three equal parts. It will be shown by
 .
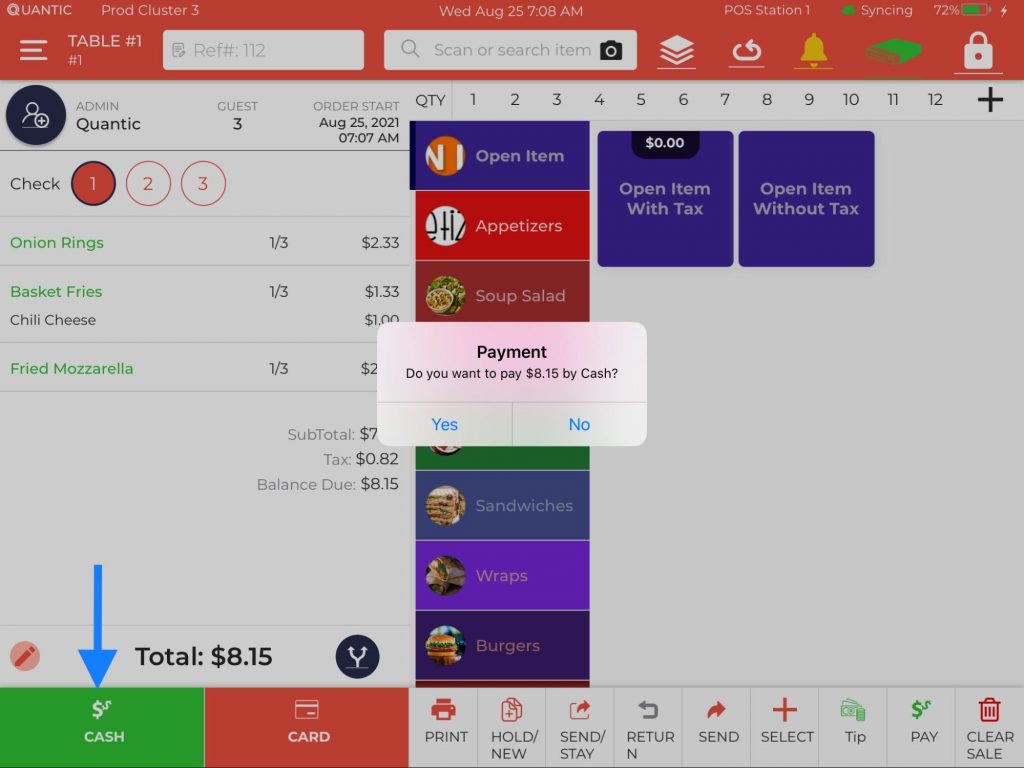
. - Now you can tap on the check that you wish to pay and click the Cash or Card option at the bottom left.
- In this example, the customer with check number 1 has opted to pay through cash. So, we tap on the Cash button on the bottom left.
- Click Yes on the confirmation pop-up, and we are good to go.
 .
.
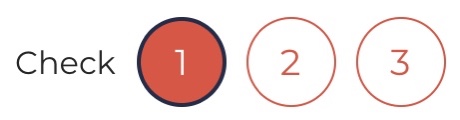
- As shown here, check number 1 has been paid by cash so it shows Paid By Cash at the bottom of the check with PAID written big and bold in green. Also, in the symbol
 , check number 1 will be circled in green color, showing it is paid.
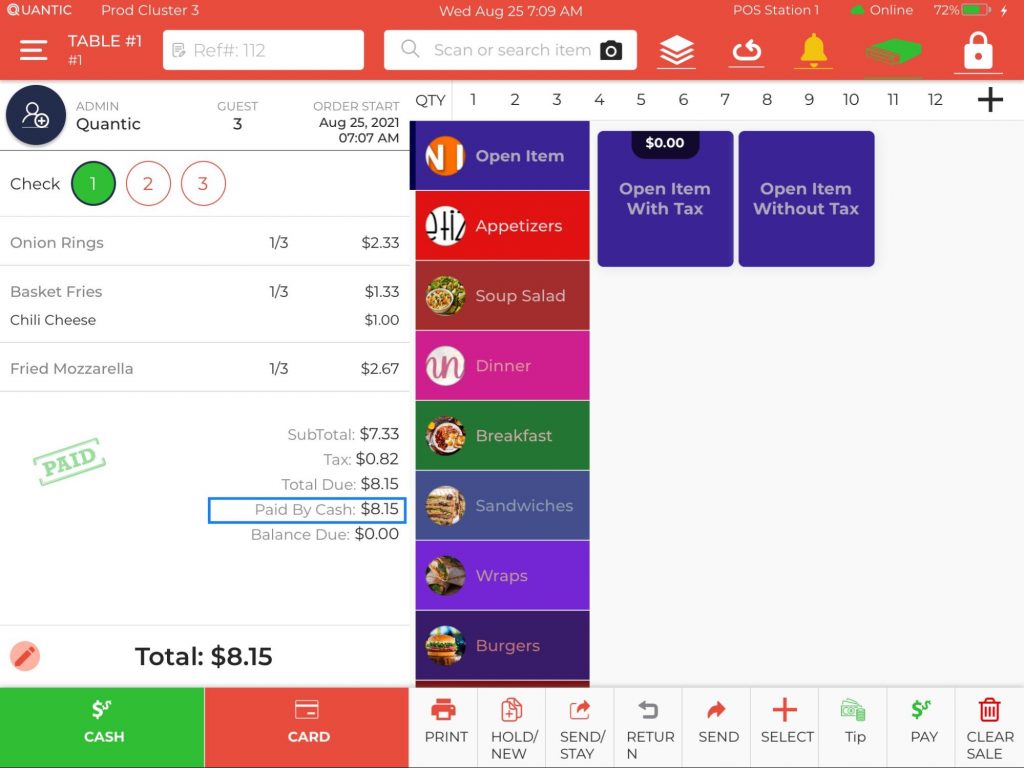
 - To pay the rest of the checks, you can click them one by one and charge money from customers via the desired payment methods.
 , check number 1 will be circled in green color, showing it is paid.
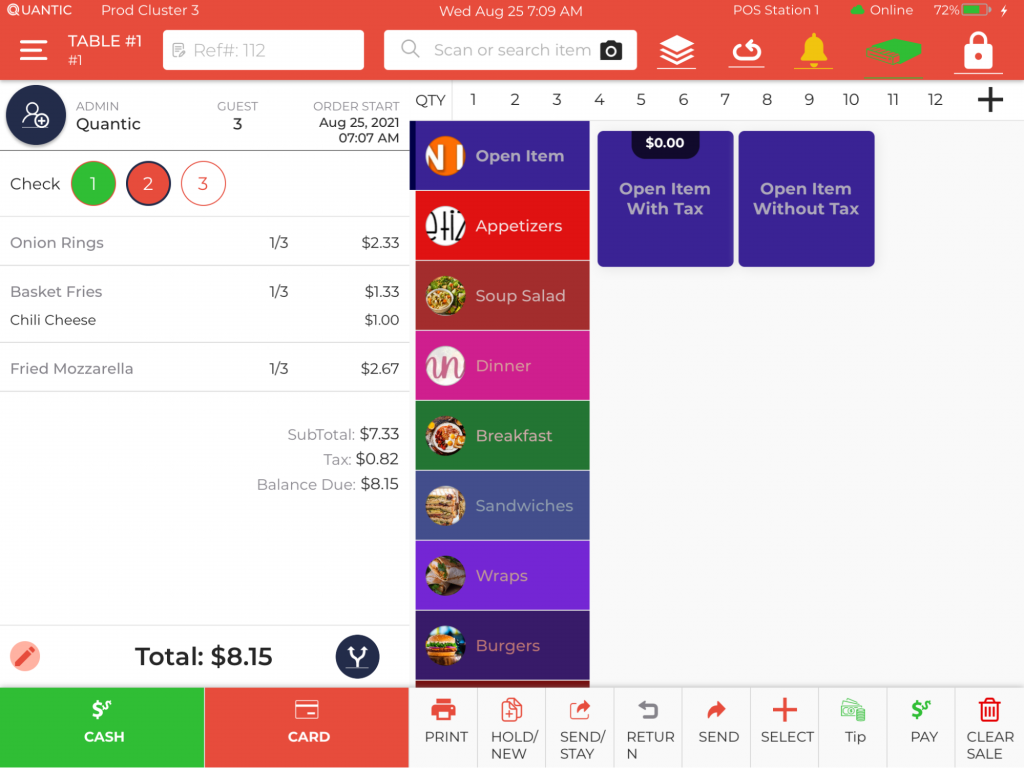
- In this illustration, we tapped on a check no. 2 which is in red means it is yet to be paid and it is still an open check. The customer can add further items to this order and pay the check later.
Moving Specific Items From One Check to Another
After splitting the checks, you can also move the specific items from the check to another. Below are the steps that you can follow to move certain items.
- Firstly, add the items to the check that guests have ordered.
- On the check, select the Split button. It is located at the bottom of
the screen.
- Now tap on the check and select the item that you want to move to a new check.
- Here we have selected the item – Basket Fries.
- Click
 on the top left.
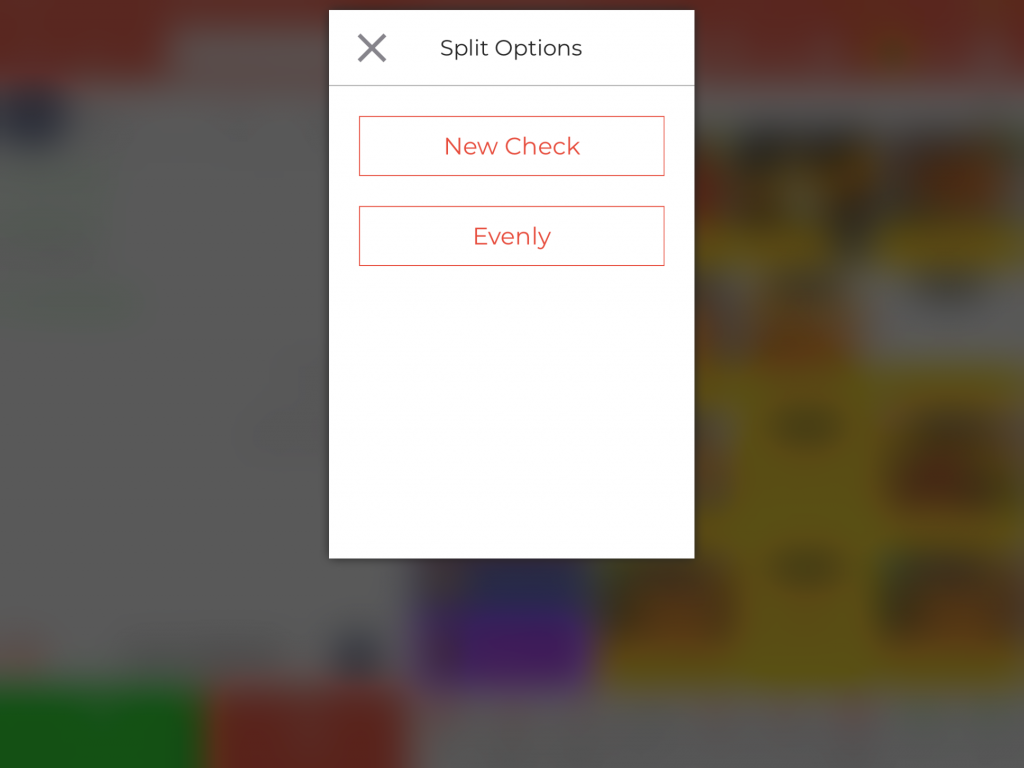
- A new pop up appears, here you should choose the New Check option to move the item to a new check.
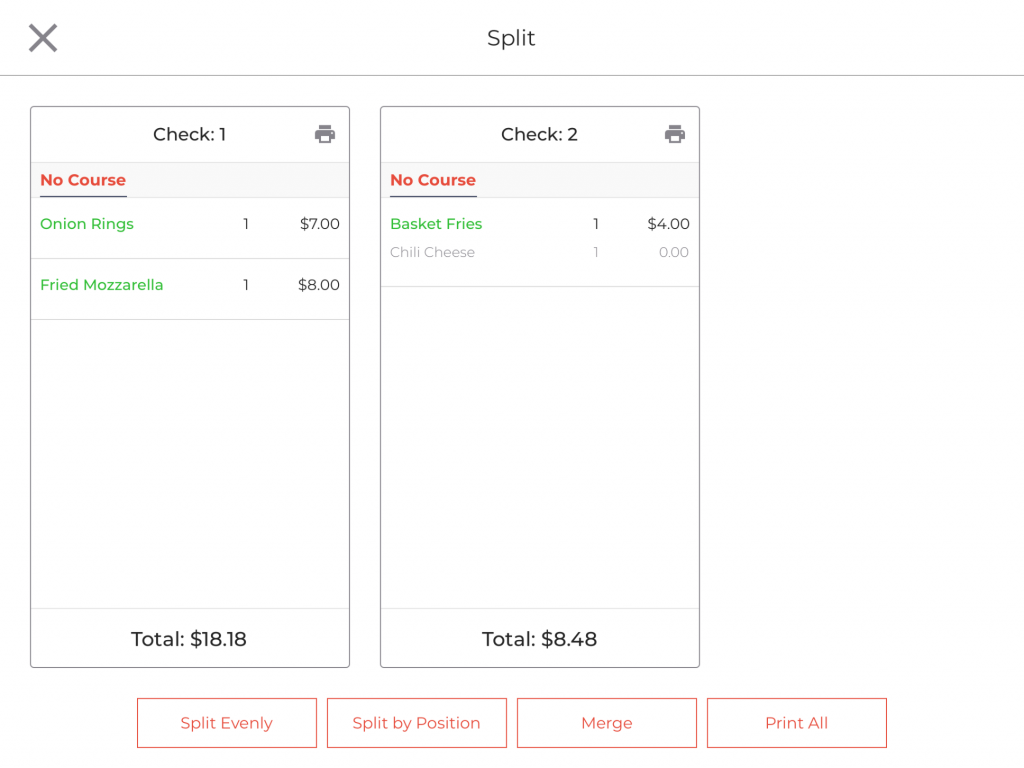
- Once done, the item will be moved to a new check. Similarly, you can move any item to a new check.
- Tap the X icon on the top left and pay for the checks separately.
