eCommerce Express
Quantic eCommerce Express makes online ordering easy for your guests. They can quickly search the products, add desired quantities, customize the orders with add-ons/modifiers, add special requests, and place orders in minutes. Manage your online orders from the integrated POS. The orders placed on your eCommerce website will be notified with a sound on the POS. The picked-up and delivered orders will be marked Picked and Delivered on the POS.


Generating the QR Code – Order and Pay?
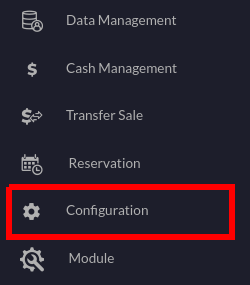
User can generate the QR Code directly from the Quantic back-end portal. QR Code comes with an order-and-pay feature that lets your guests order and pay by scanning the code from their phones. Before generating the QR code, the backend portal allows you to configure the QR code from the Configuration tab under the Generate QR Code section.


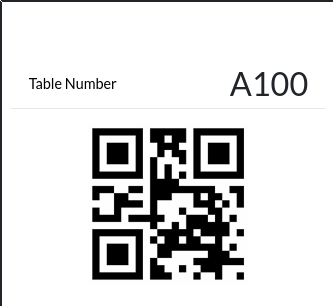
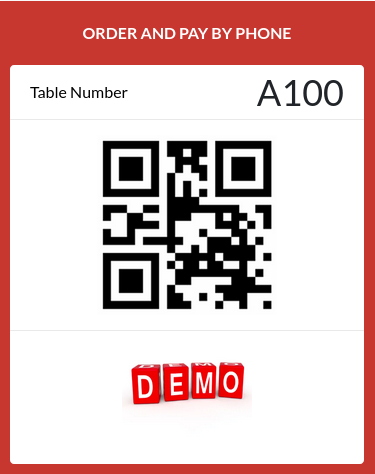
Simple template QR code
- A Simple template will appear like the one in the screenshot, with just a simple QR code and table number.
Minimalist design colorful QR code
- The Minimalist Design Colorful template will appear a bit flashy with options to add restaurant logo and color.


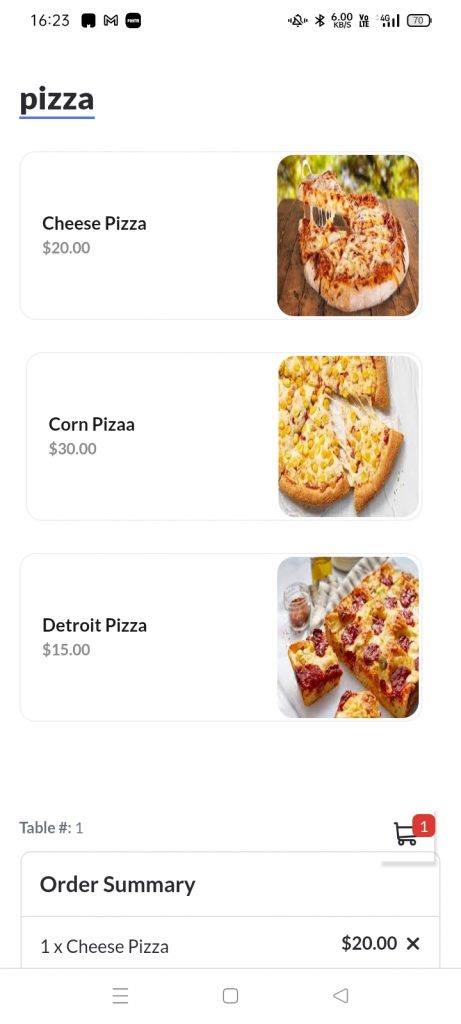
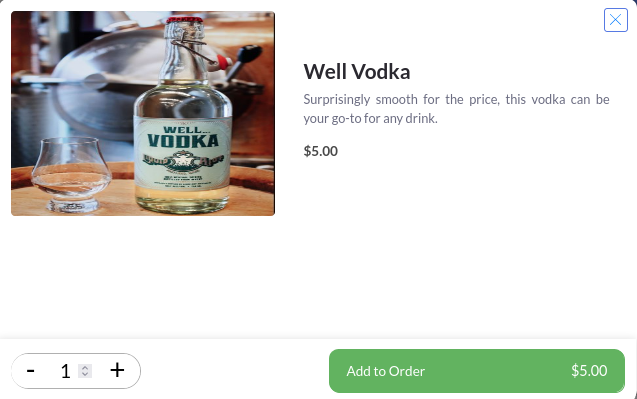
Menu Screen
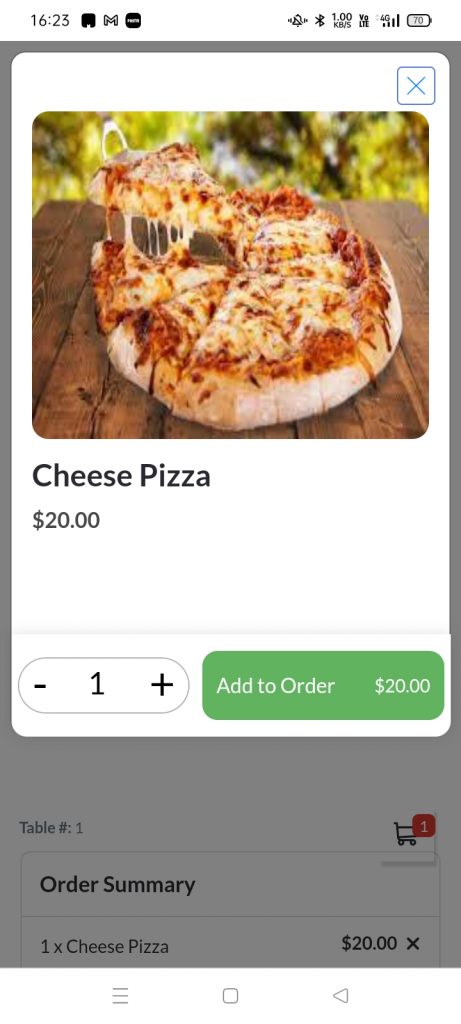
Add to Order Screen
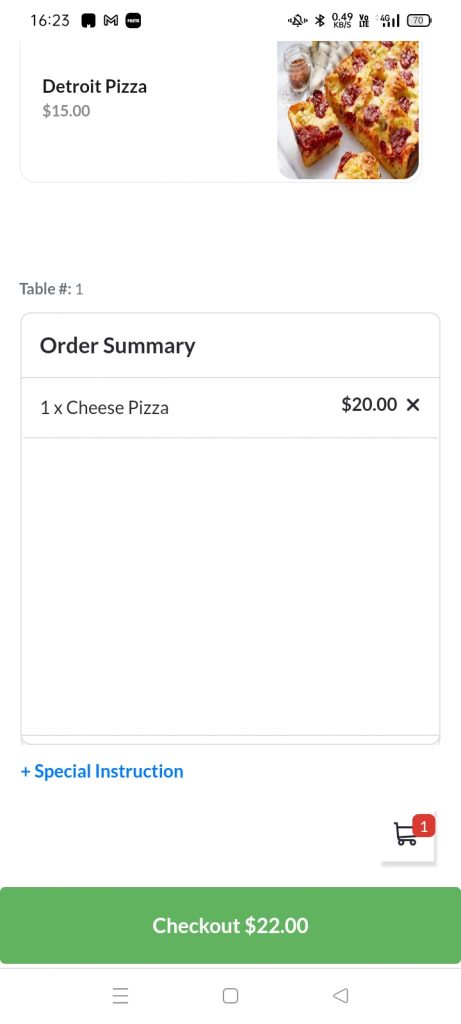
Checkout Page
- On scanning the QR code via mobile, the menu screen appears where the user can select the item to add to cart.
- On the checkout screen, the guest can enter the card details to pay for the order.
- Once done, the receipt will be generated and the item will be sent to the kitchen.
Taking Orders Online
The online ordering screen appears soon after your guests scan the QR code from their phone. The items are listed on the left with the Order Summary on the right side of the screen. You can simply select the items, add modifiers, add special notes and proceed with the checkout process
Adding Items to the Order

- Tap the order type from the top of the screen. Guests can choose Main Dining, Online Delivery, or Online Pickup.
- Now select the items from the menu
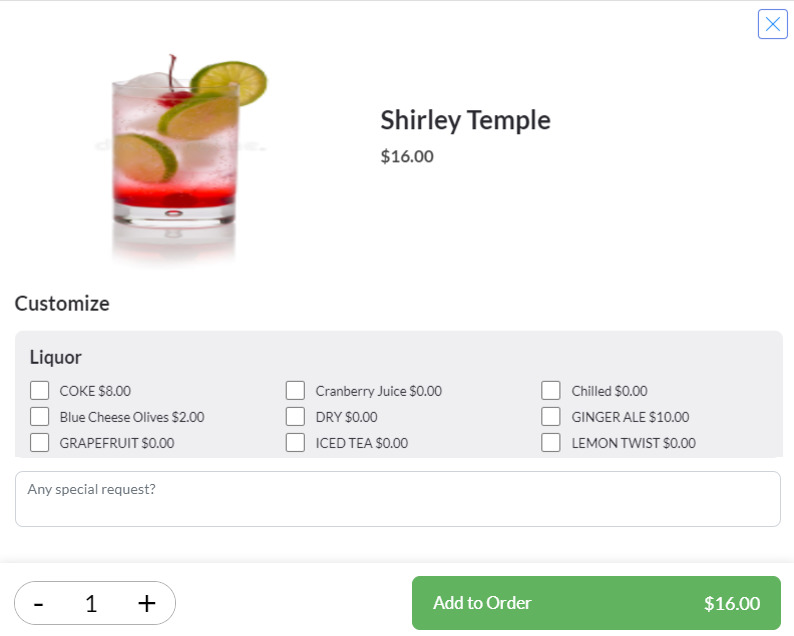
- Customize the order by adding modifiers and entering any special request for this order.
- Add the quantity by clicking the ➕ icon at the bottom left.
- Click Add to Order on the right.
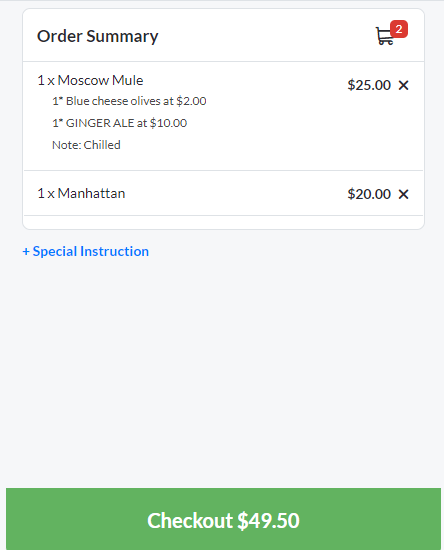
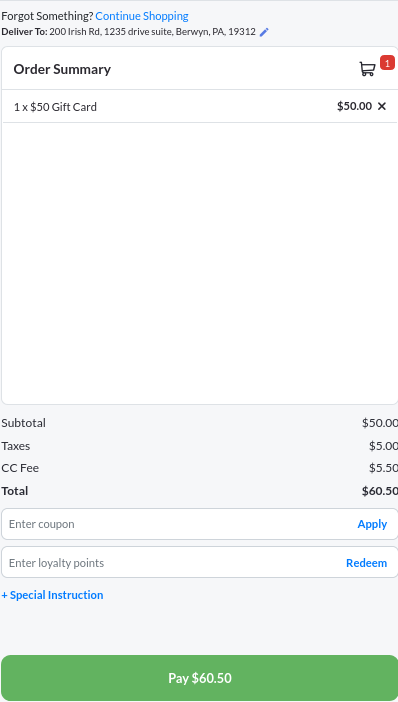
- Verify the items in the Order Summary.
- Add special instructions for the restaurant by clicking on ➕ Special Instruction.
- And click Checkout at the bottom right.
Check Out Page

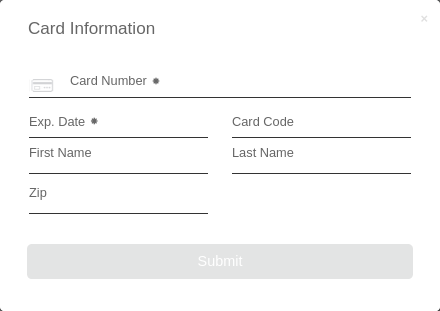
- If the guest has not signed in to the order page, they’ll have to manually fill up the personal information on the checkout page like name, email address, and mobile number.
- They can choose to Pay at Store or via the Online Payment method.
- If the guest chooses to pay at the store, he doesn't have to do anything else. Just enter the coupon on the right and click Pay at Store on the bottom right.
- If the guest has chosen to pay via online payment, the Add Tip section will appear. Here they can choose from the pre-defined tips or add a custom one. Finally, click Pay at the bottom right and proceed with the payment.
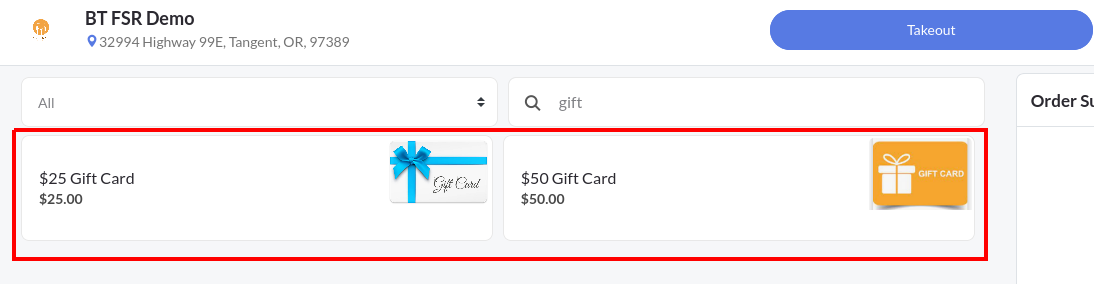
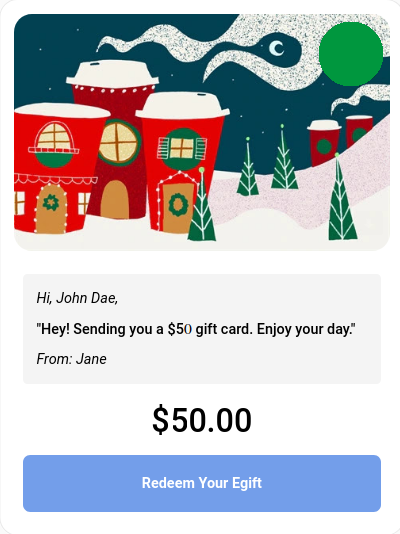
- Alternatively, the guest can also pay via a gift card.
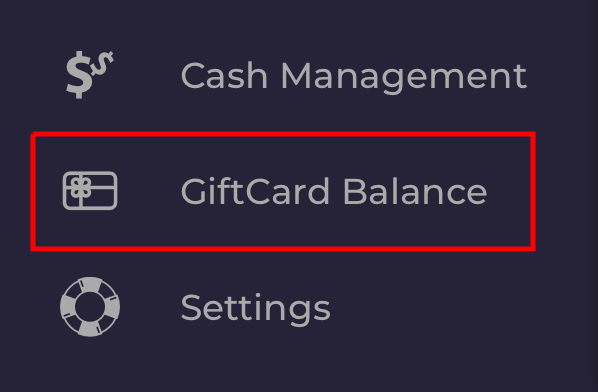
- To redeem a gift card, go to the Gift Card section.
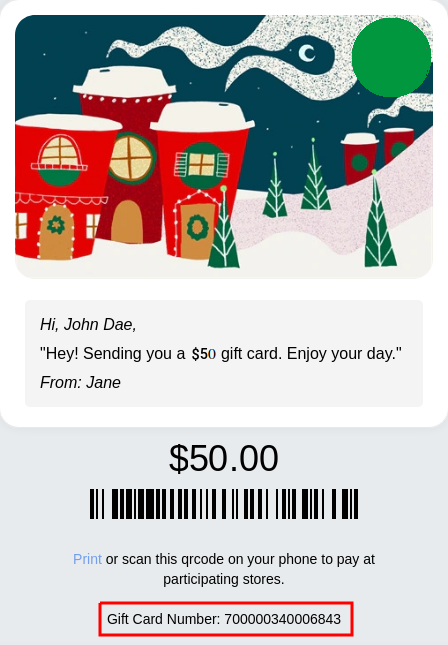
- Enter the gift card number.
- Enter the gift card security pin.
- Click Apply.
- Once the gift card amount is applied, the balance amount will appear on the screen. You can choose the apt payment method to pay the remaining amount.
Note: Please be aware that the tips cannot be paid via a gift card.
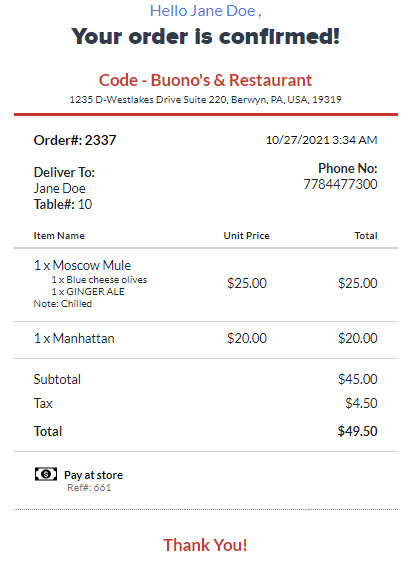
- The order confirmation receipt will be generated. It consists of the items added and the amount paid or to be paid.
- The same receipt will be forwarded to the email that you have provided initially in the configuration section.


Customer Management
Guests can edit their profile, add a new billing or shipping address, change password, view reward points, and much more from the customer profile. Check out the details below.
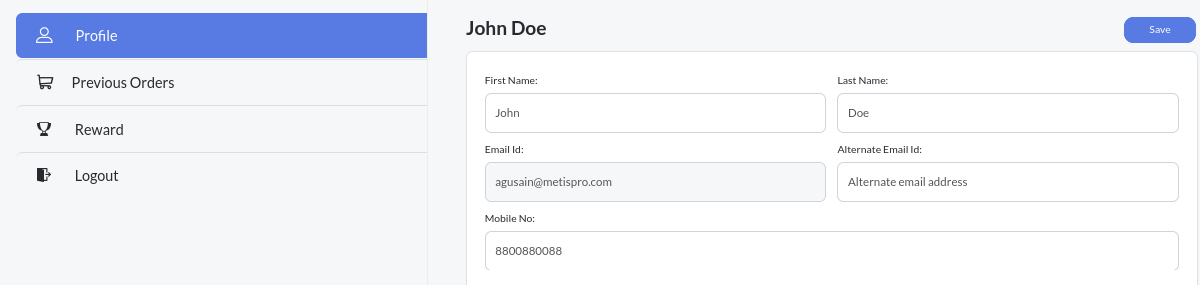
Editing Customer Details

- Click the
 icon on the top-right corner of the eCommerce Express portal.
 - Tap Edit your profile option.
- To change the profile, click the
 icon on the top right corner.
 - Now all the fields will be editable. You can edit your name, phone number and add an alternate email address. Please be informed that the primary email ID cannot be changed because you have used this email address to log in to the portal.
- Once done, click Save on the top right corner.
Changing Portal Password
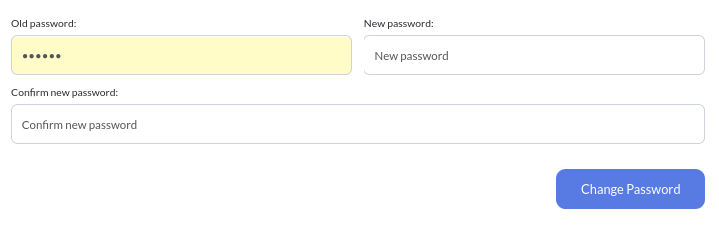
- Enter the existing password.
- Enter a new password. Please make sure it is highly secured and non-guessable.
- Confirm the new password and click Change Password.
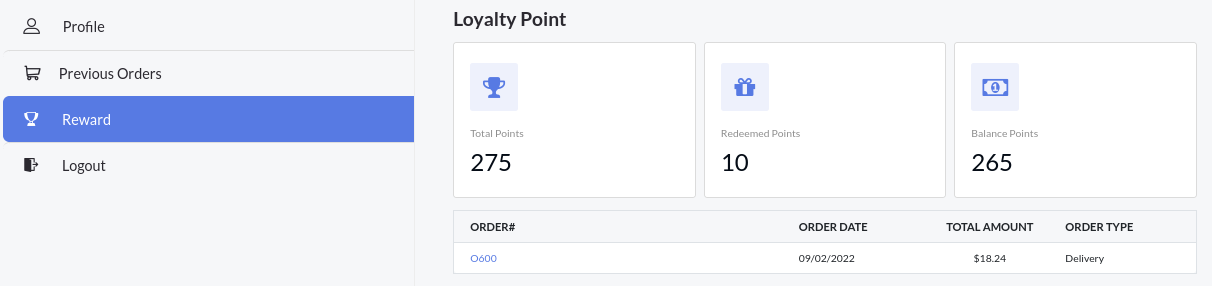
Reviewing the Previous Orders
This section gives a glimpse of all the previous orders that a customer has ordered in the past. It shows the order date, order number, total amount, and order type. Customers can also track the undelivered orders directly from here by clicking the Track link in front of the order.

- Under the Customer profile section, click Previous Orders.
- The list of orders will be displayed on your screen.
- Click the order number to view the order details like delivery address, item price, paid-by, etc.
- You can also track the undelivered orders by clicking the Track link adjacent to the order number.